If you get a new Windows 7 computer over the holidays, check out the Homegroup feature. It lets you share files, folders and printers between other Windows 7 systems over your home network.
Note: You can only use the homegroup feature on a home network. The Internet connection needs to be set to Home.
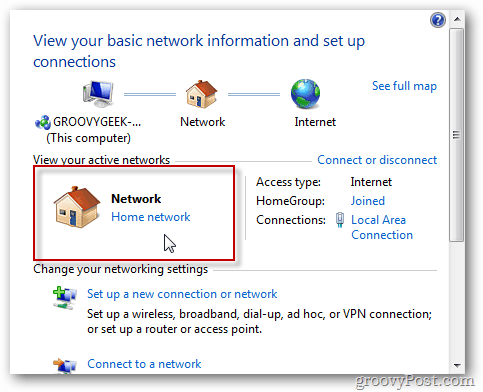

Click Start and type: homegroup into the search box and hit Enter.


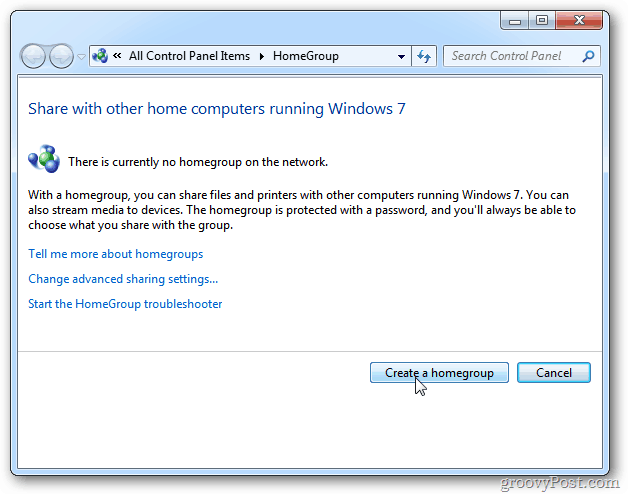
Next, click Create a Homegroup.

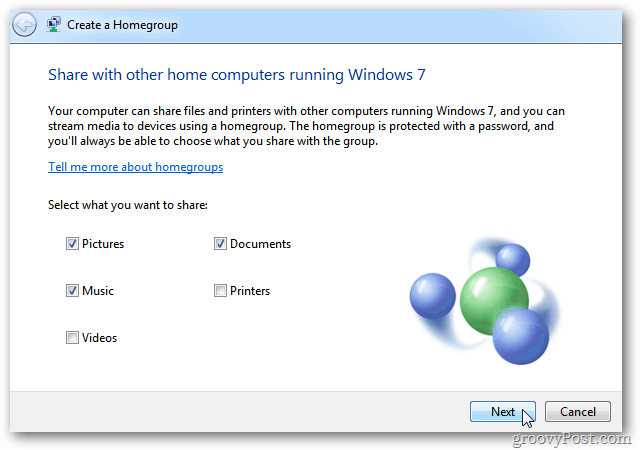
On the Create a Homegroup screen, check what you want to share with the homegroup. Click Next.

Windows will generate a password for connecting to the homegroup from another computer. Make sure to copy it if you want to use it. Click Finish.


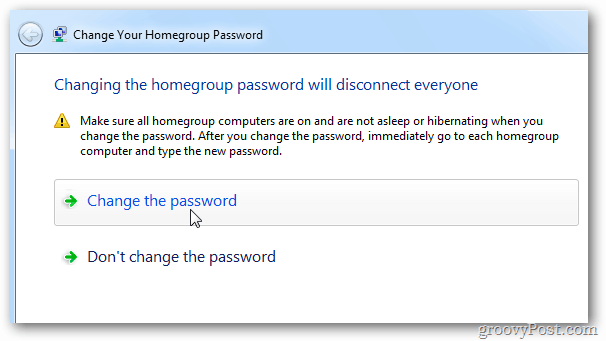
You not stuck with the homegroup password the system generates. On the Homegroup page click Change the Password.
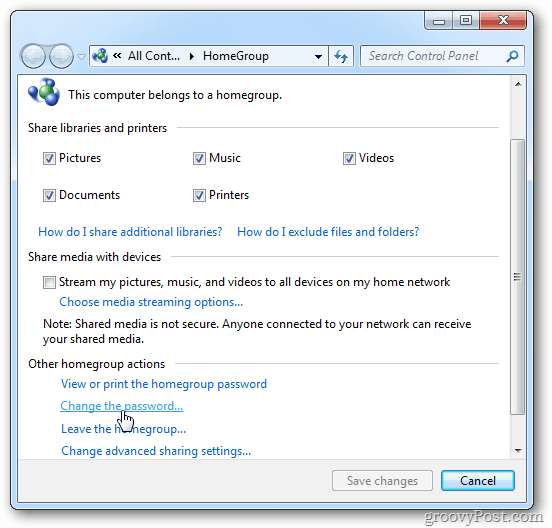

On the next screen click Change the Password.

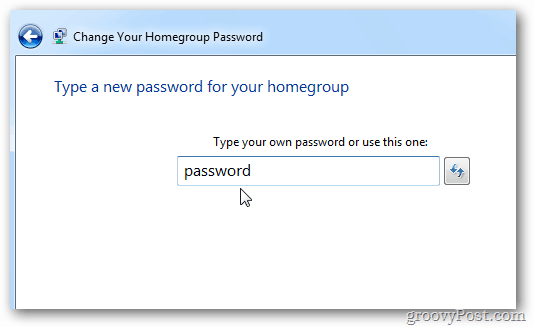
Type in what you want to use for the new password.

Success. Click Finish.


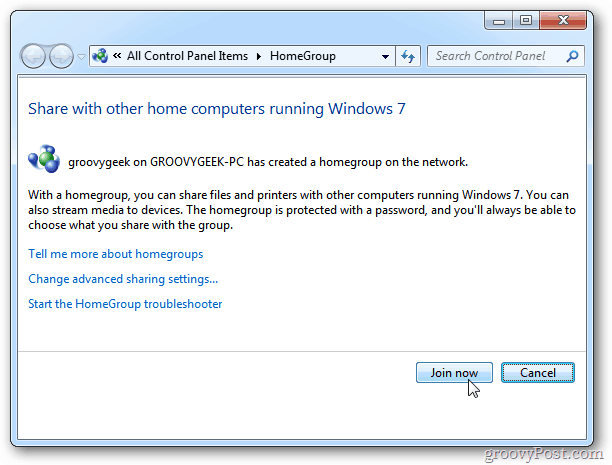
Now on another Windows 7 system you’ll need to join the homegroup. Type: homegroup into the Start menu search box.


You’ll see the homegroup you just setup available. Click Join Now.

Select what you want to share with the other computers that join the homegroup. Click Next.


Type in the password for the homegroup. Click Next.


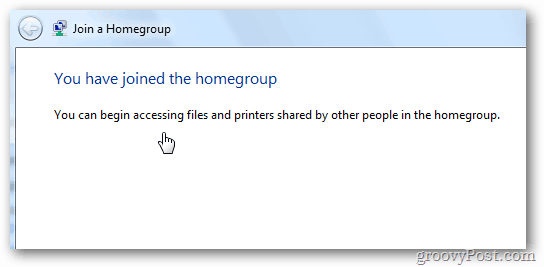
Success. Your computer has joined the homegroup.

Open Windows Explorer and you’ll find the Homegroup – expand the folders to access the files you shared.


Computers that are part of the homegroup will be able to access the files with each other.


Leave a Reply
Leave a Reply


