How to Recover Deleted Files on Windows with Recuva

If you’ve lost or accidentally deleted a document or other file and need it back on Windows, use Recuva to get it back.
We’ve all been in a situation where we accidentally deleted an important file or document. Or we can’t find where we left it on another computer or other connected device. We check the recycle bin but to no avail. The doc just can’t be found. Oh, and you forgot to back it up. Oops. It’s instances like this where the free utility Recuva can be quite helpful. Here’s how to use it and get your important file back.
What is Recuva?
Recuva is developed by the company Piriform who also create the free utilities CCleaner and Speccy – both of which every computer user should have in their toolbox. The company has a simple but solid pitch for Recuva:
Accidentally deleted an important file? Lost files after a computer crash? No problem – Recuva recovers files from your Windows computer, recycle bin, digital camera card, or MP3 player!
Recover Deleted Files with Recuva
Installation
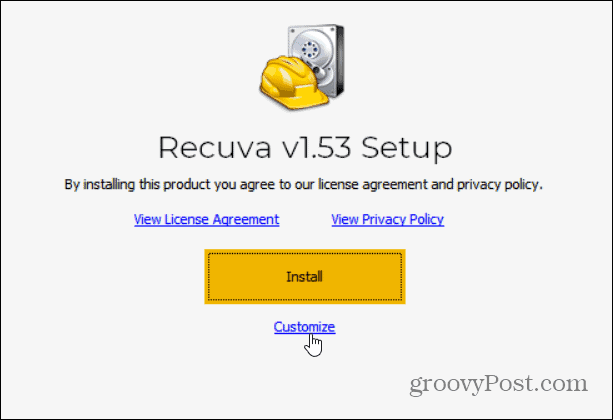
If you need to get a deleted file back first download Recuva Free (there is also a Pro version). When you first launch the installer, click the “Customize” link below the Install button.
That will give you options for controlling the way you want the utility to install. You can include Add ‘Scan for deleted files’ option to the Recycle Bin and File Explorer context menus, for example. Or, maybe you don’t want a desktop or Start menu shortcut.

You can also click the “More” link and change the install location and choose users. Whatever the case, after you’ve made your selections, click the Install button.

That’s it. Now you can click the Run Recuva button to get going. You might also want to uncheck the “View release notes” box if you’re not interested in those.

Using Recuva
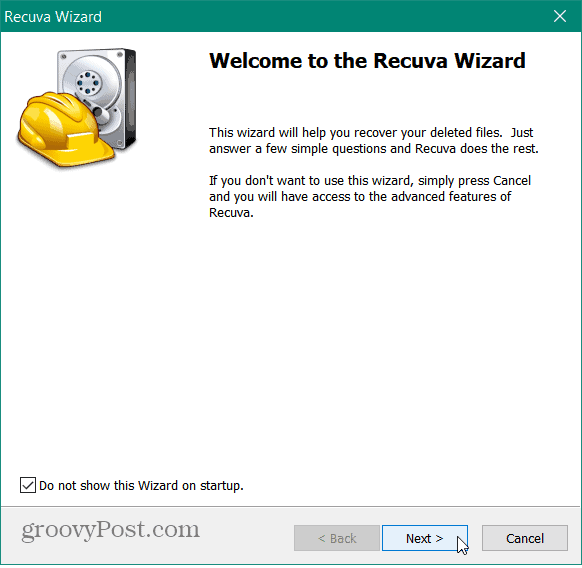
When you kick it off a wizard will start and guide you through using it for the first time. Actually, the wizard will start every time you launch Recuva (which could be good if you don’t use it often). But you can click “Do not show this Wizard on startup” or click Cancel to go directly to its advanced features. To get started click Next.
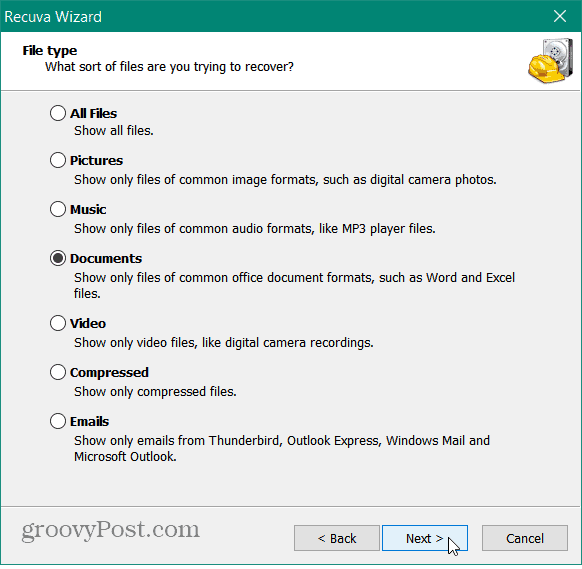
On the next screen, you’ll be asked which types of files you want to try and recover. Maybe you’re looking for a document, but you might need to find a picture, program file, or something else. When in doubt, just select All Files. Note that not everything is going to be recoverable, more on that below. After you’ve made your selection click Next.
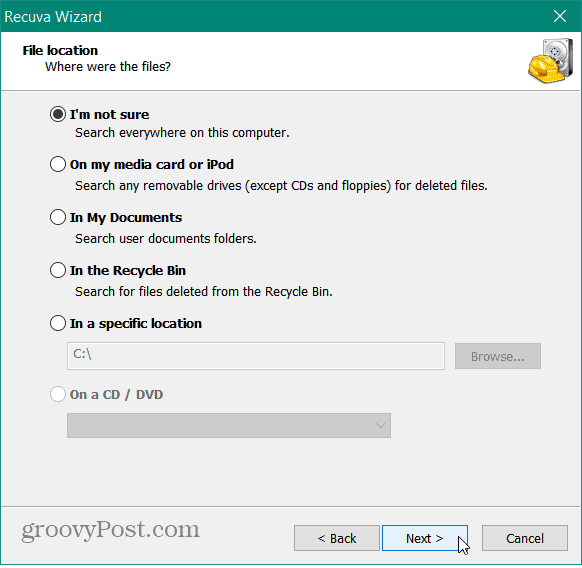
Next, you will be asked to have Recuva scan the location where the file you are looking for is at. If you don’t know select “I’m not sure” and click Next.
Now you are ready to start the scan. If previous scans have failed check the “Enable Deep Scan” box and click Start.

Then just wait while Recuva scans your computer. The amount of time it takes will vary between computers.

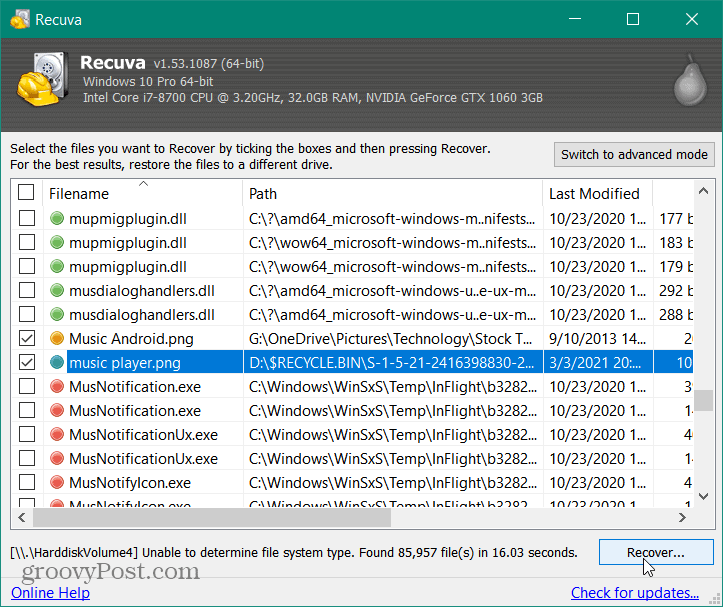
Recuva will bring up the results. It will also show you the condition that a file is in. It includes green, orange, and red.
- Green: The file is in excellent condition and recovery is very likely.
- Orange: There is a chance of recovery but the file might contain some errors.
- Red: The file is completely overwritten and the file is unrecoverable.
If a file is orange or red it might not be recoverable and you might want to attempt a deep scan at that point.
Click the file you want and then the Recover button to get it back (if the app can).
When you go to recover a file, Recuva will ask you for the location to place it. Then you will get a success message and the app will prompt you to get the professional paid version if you want.

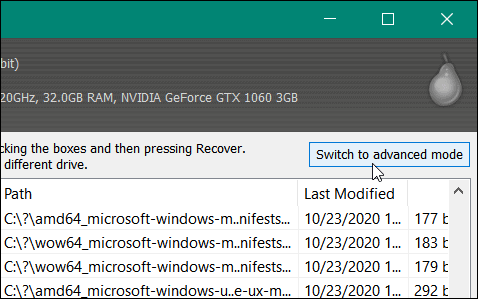
If you need more, you can use the utility’s advanced mode. To do that click the Switch to advanced mode button.
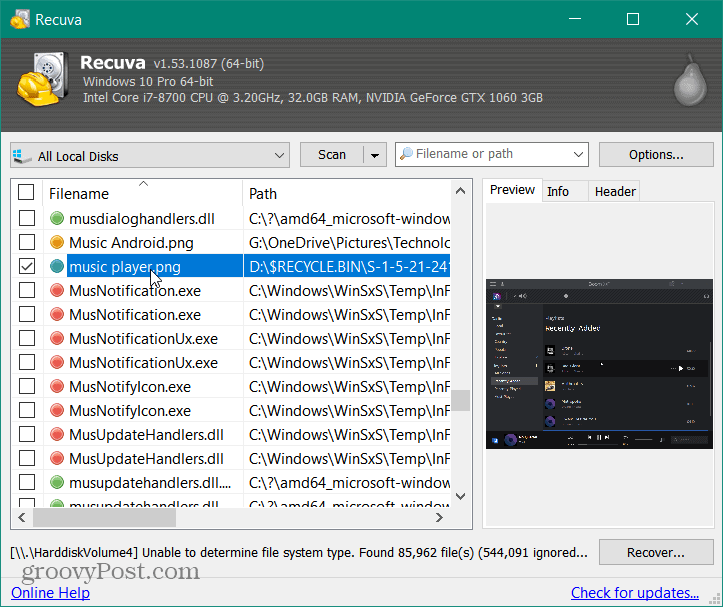
In Advanced Mode, you can preview an image or other file. Get the file info and heady. You can also perform new searches on different drives without having to go through the entire wizard again. Here if you find your file just select it and click the Recover button.
For even more, click the Options button. That gives you the chance to change the UI language, manage scanning actions, and more.

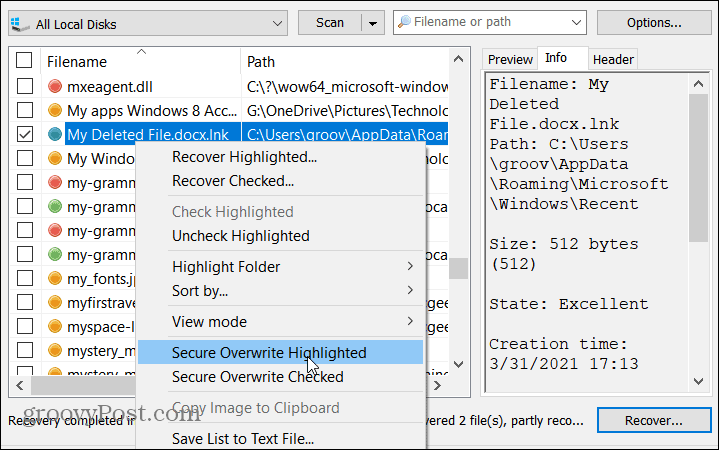
For example, I changed the scanning actions to “Show securely overwritten files” and was able to get back a test document file I put in the Recycle Bin and then emptied.
It’s worth noting that Recuva lets you securely delete a file, too. Just right-click the file that’s found and select to securely overwrite it.
Overall, Recuva is a valuable utility to have on hand or have access to in the event you need to recover a lost or deleted file. While some files might be overwritten too many times to recover successfully, it’s worth trying. Plus you can use it to find and securely delete a file if that’s something you need to do. All in all, a very important utility to have in your troubleshooting toolbox.
Other Piriform Utilities
Don’t forget to check out CCleaner which can help you speed up and secure your computer. There is also a version of CCleaner for Mac as well as a portable version. And Speccy, which provides a dead-simple way to get detailed info about your PC.