Previously we covered using Readyboost with a USB flash drive, but did you know you can do the same thing with an SD card? As netbooks and portable devices have become more popular, sometimes it just isn’t ergonomic to have a giant USB sticking out of your PC. A small SD card provides a discreet solution for your ReadyBoost needs.
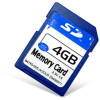
As with using a USB stick to ReadyBoost your Windows PC, a 4GB SD card is the size you want. ReadyBoost won’t utilize more than 4GB, and they start to get expensive after that point anyway. I had a few extra laying around since my new camera uses Compact Flash memory instead of SD memory. Another neat thing is that using ReadyBoost can improve battery life because it will help minimize hard-drive access (spin-ups.) The actual numbers on battery life saved aren’t high, but if you’re mobile, then every little bit helps.
How To Use ReadyBoost With An SD Card In Windows 7
To enable ReadyBoost in Windows 7 with an SD card, just pop that little guy in and Select the ReadyBoost autoplay option. If this option doesn’t appear, then you can enable it from the Control Panel Autoplay Options menu.
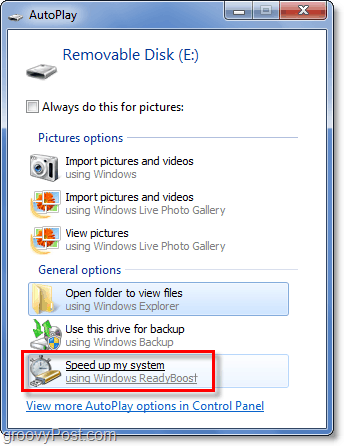
Once you allow it, Windows will start storing pre-cache information on your SD card for quick-access. This information stores in a single file on your card named ReadyBoost. If you eject your SD card and later find that Windows forgot to remove the ReadyBoost file, it is perfectly safe to delete it manually.
Keep in mind if you use an SSD hard drive ReadyBoost won’t affect your performance.


Moola
March 9, 2012 at 10:48 am
I am getting a 10 rated 16GB sd card. I have a netbook with 2 GB ram (eepc1000he) I am looking to use ready boos on it. Will I see improvement in battery life and performance?