How to Lock Cells in Google Sheets

You can lock cells or entire sheets in a Google Sheets spreadsheet to prevent editing. Here’s how.
Google Sheets is the best Microsoft Excel competitor in the market. While it may not have all the bells and whistles that Excel brings, it’s still a pretty powerful piece of software, especially for free. If you’ve never used it before, check out our beginner’s guide to Google Sheets for some handy tips.
Once you’ve created your perfect spreadsheet, you may be concerned about sharing it with other people—sticky fingers mean deleted cells that ruin your finely crafted formulae, after all. The good news is that it’s possible to lock a range of cells or an entire sheet to protect them from being edited in Google Sheets.
Lock an Entire Sheet in Google Sheets
If you want to protect an entire sheet from being edited by other people, you can lock the whole thing.
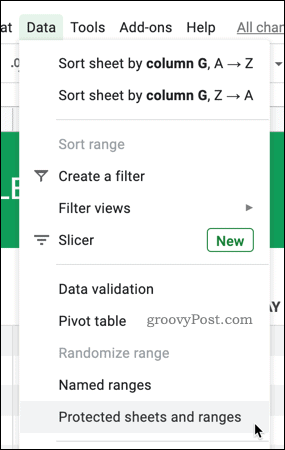
To do so. open up the sheet that you want to lock in Google Sheets, then click Data > Protected Sheets and Ranges.
Click the Add a sheet or range option to begin to add the criteria to lock your sheet.

To begin locking the entire sheet, select the Sheet tab.

Press the Set Permissions button.

Choose Only you if you want to stop anyone else from editing the sheet, or Custom to allow specific people to be able to edit it.

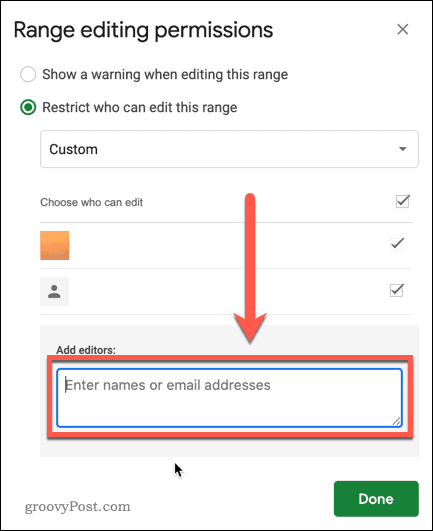
If you choose Custom, select the people you want to be able to edit or add the names or email addresses into the Add Editors box.
Click Done to confirm your permissions and lock the sheet.
Your sheet will now be protected—only you or the users you select will be able to edit the sheet moving forward.
Lock Specific Cells in Google Sheets
There may be situations where you want to allow people to edit your sheet, but you still want to protect specific cells. You might want to lock cells with complicated formulae, for instance.
To do so, open the sheet that you want to protect and highlight the cells you wish to lock. If you want to protect unconnected cells, you’ll need to repeat these steps for each range.
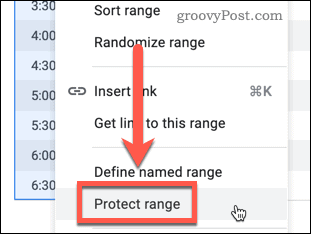
With your cells selected, right-click any of the selected cells, then click Protect range.
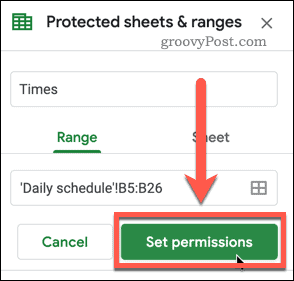
In the Protected sheets and ranges panel, you can name your cell range. This will help you keep track if you want to protect multiple ranges, but you can leave the name blank if you prefer.
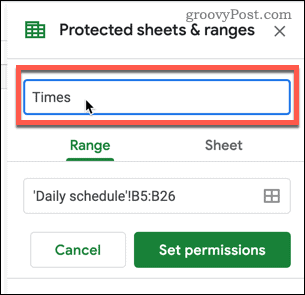
Press Set permissions to apply the restrictions to your selected cells.
As with the sheet locking, you can set the user permissions at the next stage. If you have other ranges of cells that you want to protect, repeat the steps above.
Lock an Entire Sheet Except for Specific Cells
If you have a large number of cells that you want to protect, leaving only a few unrestricted, then you can lock the whole sheet, except for a cell range.
Click on Data > Protected Sheets and Ranges to begin.

Click on Add a sheet or range to select the cell range.
Select the Sheet tab.
Press the Except certain cells checkbox to enable it.

You may find that this brings up the cell that you currently have highlighted in your sheet.
If this isn’t one of the cells that you want to leave unlocked, then click on the Select data range icon and select the range you want to use instead.

If you have multiple ranges you want to leave unprotected, press the Add another range button, then select additional cells.

When you’ve finished selecting your ranges, click OK to confirm, then the Set permissions button.
You can set the user permissions at the next stage. Your sheet will then be protected, with the exception of the cells you’ve selected.
Enable Soft Warnings for Cell Editing
If you don’t want to lock cells, you can still give them a layer of protection by applying soft warnings. Google Sheets will alert you if you plan on editing your cells, but it won’t restrict you if you choose to continue.
Select your cell range, then press Data > Protected Sheets and Ranges to begin. Once you’ve chosen Range or Sheet, press Set Permissions.
In the Range editing permissions window, choose Show a warning when editing this range.
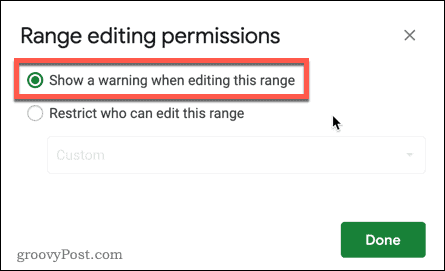
Press Done to save.
With this warning applied, a pop-up alert will appear whenever you try to edit a protected cell, asking you if you wish to edit it.
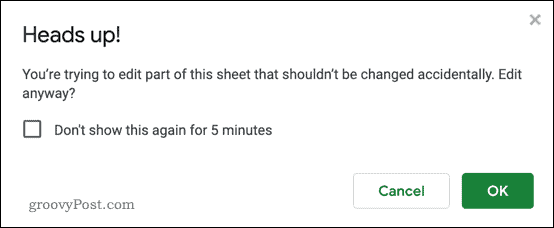
You can opt to turn off warnings for the next five minutes—press the Don’t show this again for 5 minutes checkbox if you wish to enable this before pressing OK to make changes to the cell.
Clean Sheets
By locking cells in Google Sheets, you can stop other people from editing specific parts of your spreadsheet. This is particularly useful if you have cells that contain formulas or you only want people to access certain sections of the spreadsheet.
Another way to keep your spreadsheets looking smart is to hide the gridlines in Google Sheets, giving a page-like view to your data. If you want to share your documents with Excel users, don’t forget—it’s possible to export Google Docs to Microsoft Office format if you need to.