How to Encrypt Files and Folders on Your Mac Using Disk Utility

Protect your sensitive files on your Mac using disk image files. The free Disk Utility app allows you to create secure vaults for storing and sharing private files. We’ll show you how.
If you’ve installed software on your Mac, you’ve most likely come across disk image, or .dmg, files. Disk image files are also like secure vaults. They provide a handy way of encrypting and securely storing files and folders on your Mac.
Locked .dmg files can be stored on your Mac and anywhere like Dropbox, Google Drive, OneDrive, or on an external drive. You can also use .dmg files to securely share files.
Today we’ll show you how to create your own disk image file using the built-in Disk Utility app and use the disk image file to securely store files and folders.
Create a New Blank Disk Image File
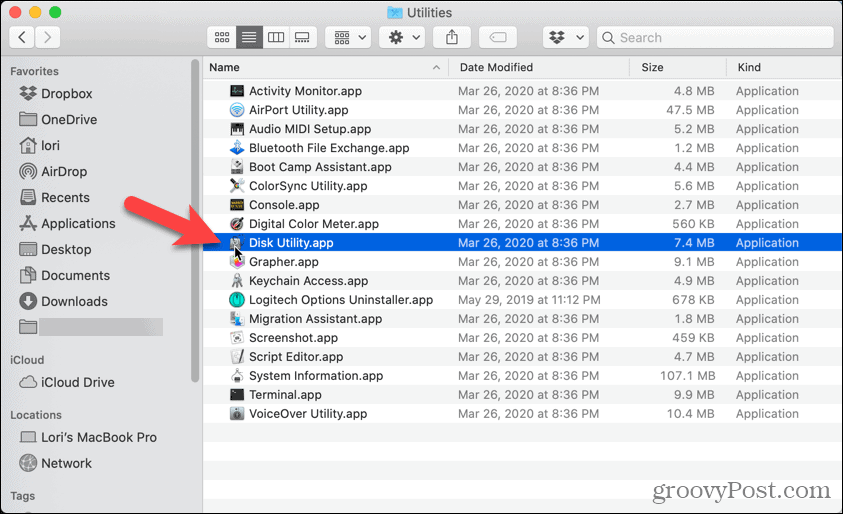
To create an encrypted disk image file, go to Applications > Utilities in Finder and double-click Disk Utility.
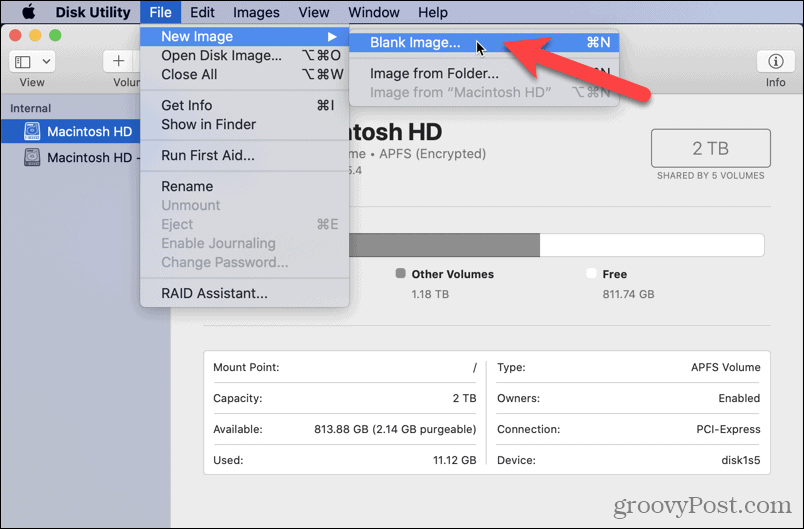
Go to File > New Image > Blank Image.
Enter a name for the disk image in the Save As box on the dialog box that displays. Be sure to keep the “.dmg” at the end of the file name.
Select where to save the disk image file, enter a Name, and specify the Size for the disk image file. Type a space after the number in the Size box and then type KB, MB, GB, or TB. Leave the Format as Mac OS Extended (Journaled).
To encrypt the disk image, select an Encryption method. Apple recommends the 128-bit AES encryption choice because it makes the disk image very secure, without being too slow. But if you want your vault to be more secure, select 256-bit AES encryption.

Set Up Encryption
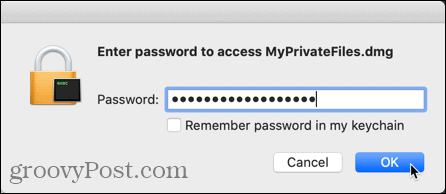
When you select an Encryption method, a dialog box automatically displays asking you to assign a password to the disk image. You’ll have to enter this password to open the disk image.
Enter your password in the Password box and again in the Verify box. Then, click Choose or press Enter.

Click Save.

Click Done on the progress dialog box once the operation is successful.

Open, or Mount, Your Secure Disk Image File
In Finder, go to where you saved your disk image file and double-click on it.

Type your password when prompted and click OK or press Enter.
Move any files and folders you want to securely store into your new disk image file.

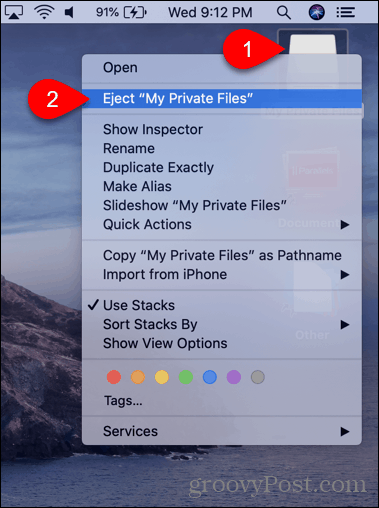
To close and lock the disk image, right-click on the disk image’s icon on the desktop and select Eject.
You can also use disk image files as one method to securely delete files and folders on your Mac.
There are also several free ways to securely delete files and folders on Windows and easily encrypt files and folders in Windows, too.


