How to Configure the MacBook Pro Touch Bar
If you own a modern MacBook Pro, you probably have a Touch Bar. Here’s how to use it.
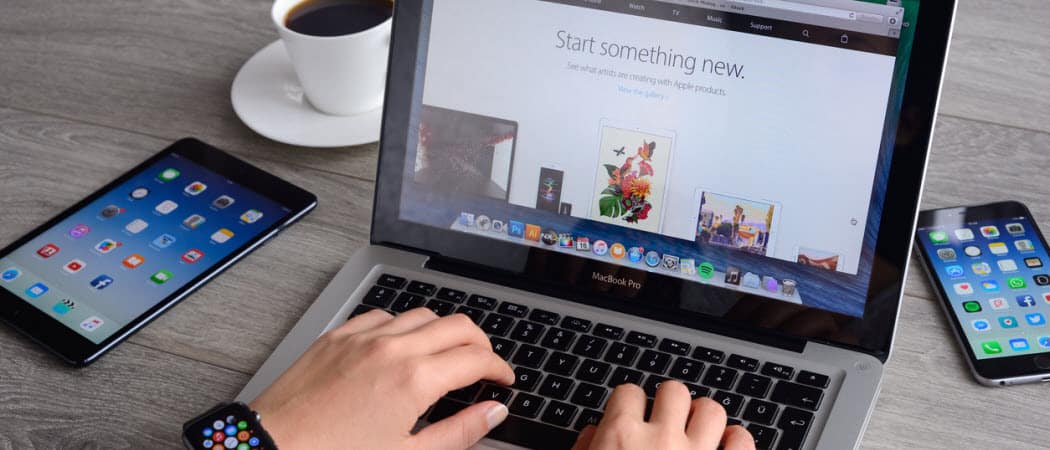
For nearly five years, the MacBook Pro has featured Touch Bar, a touch-based OLED bar. Introduced in 2016, the touchscreen strip replaces the physical function keys at the top of the laptop’s keyboard. In turn, these digital keys automatically change, depending on what you’re doing. Touch Bar also includes a key to activate Siri, Apple’s voice assistant, and one for Touch ID.
Touch Bar is a useful feature. Unfortunately, Apple rarely promotes it, suggesting its placement on future MacBook Pro models could be in doubt. Until fairly recently, I rarely used Touch Bar on my MacBook Pro. Then I took the time to customize it to match my needs. Now, I use the Touch Bar every day.
Here’s more about Touch Bar and how to customize it.
What is the MacBook Pro Touch Bar?
All current MacBook Pro models include the Touch Bar, including the 13-inch and 16-inch models. Previously released 15-inch MacBook Pro models (which were discontinued in 2019) also include the Touch Bar. For a time, the entry-level 13-inch model shipped without a Touch Bar, although that’s no longer the case.
Out of the box, Touch Bar offers a combination of App Controls and a Control Strip on the Touch Bar. You can adjust your default using the steps listed below.
App Controls
Touch Bar App Controls show controls whenever you’re using a supported app or task. Not surprisingly, native apps in macOS all support Touch Bar. Many third-party apps also work with Touch Bar, including Microsoft 365, Pixelmator Pro, Adobe Photoshop, djay Pro, 1Password, and many more.

The best way to begin grasping the Touch Bar is to force yourself to use it across favorite apps. My advice: start with fun apps like Apple TV or Music. You can switch between content with ease using the Touch Bar in each app. Available buttons, for example, include Play, Pause, Forward, Back, and more.
When you get more comfortable using the Touch Bar, move onto other apps such as Safari or Microsoft Word. You can move between tabs from the touch-based OLED bar and initiate a web search on the former. On the latter, use the Touch Bar to adjust text using familiar options like Bold and Italics.
Control Strip
By default, you’ll see a Control Strip on the right end of the Touch Bar. You can adjust the volume from this location, ask Siri a question, change the display brightness, and more. You can also expand the Control Strip to access other buttons.

The expanded Control Strip includes buttons to change the display and keyboard brightness, Mission Control, Launchpad, video/music playback, volume, and more.

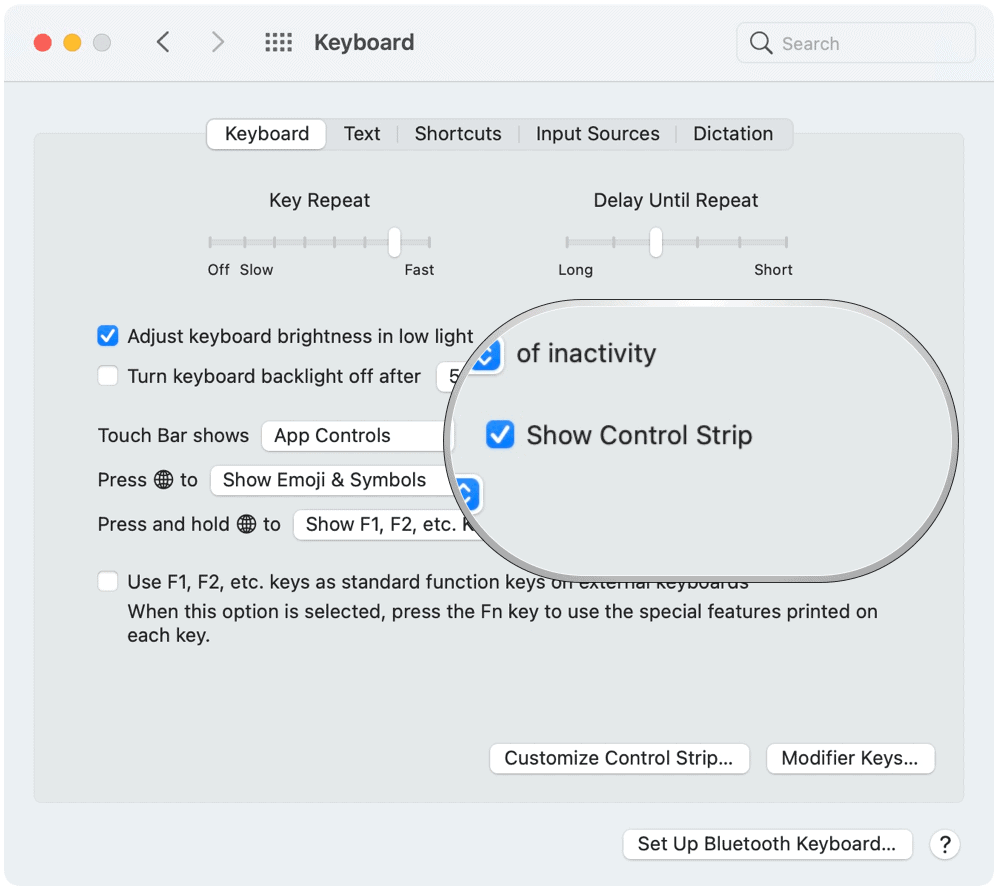
Customize Control Strip
You can change the look of the expanded Control Strip to suit your needs better. Changes are made through System Preferences on your Mac.
To make adjustments:
- Click System Preferences from your Mac toolbar.
- Choose Keyboard.
- Click Customize Control Strip…

Making Changes to the Control Strip
When activating Customize Control Strip…, you can add items to the Touch Bar by dragging available icons to the bottom of the screen. Subsequently, you can remove items by moving them to the top of the screen.
Additionally, Apple explains, you can:
Add buttons: Use the trackpad or mouse to drag a button from the screen to the Control Strip; buttons in the Control Strip jiggle slightly.
Rearrange buttons: Use your finger on the Control Strip to drag a button.
Remove buttons: Use the trackpad or mouse to drag a button from the Control Strip to the screen.
Choose Done on the screen when you’re finished editing.

How to Change Your Default Touch Bar
You can select from four additional looks for the Touch Bar as the default in macOS Big Sur. These include Function Keys, Expanded Control Strip, Quick Actions, and Spaces.
To change the default:
- Click System Preferences from your Mac toolbar.
- Choose Keyboard.
- Select the pull-down menu next to Touch Bar shows.
- Choose from App Controls (the default), Function Keys, Expanded Control Strip, Quick Actions, and Spaces.

App Controls
By default, when App Controls is selected through System Preferences, you can remove the Control Strip from showing. Just uncheck the Show Control Strip.
Function Keys
If you want to go old school and don’t see a reason to use Touch Bar, you can add Function Keys. When doing so, the Touch Bar includes F1 through F12 across 12 digital keys. When App Controls are being used on Touch Bar, click the Globe key on your keyboard to access the Function Keys.
Quick Actions
In macOS, you can create Quick Action workflows using the Automator app. When these get created, they’ll show up on the Touch Bar (when Quick Action is chosen as the default).
Spaces
Finally, with Mac spaces, you can create additional desktops to organize windows. When you work in a space, you only see the windows that are in that space. When choosing Spaces as the default Touch Bar setting, you can use the strip to move between spaces.
Touch Bar includes extra tools to use on your supported MacBook Pro. It’s useful out of the box, although some customization might be necessary for your benefit. Luckily, Apple makes it relatively simple to make changes.


