How to Add New Fonts on Mac

Fonts come in different styles and provide a simple way to enhance creativity in your work. Here’s how to add even more to your Mac.
Your Mac comes with a long list of fonts already installed. You can download and install more fonts from Apple and other sources and also remove fonts from the system at any time. Here’s how to do this.
Mac Fonts: An Introduction
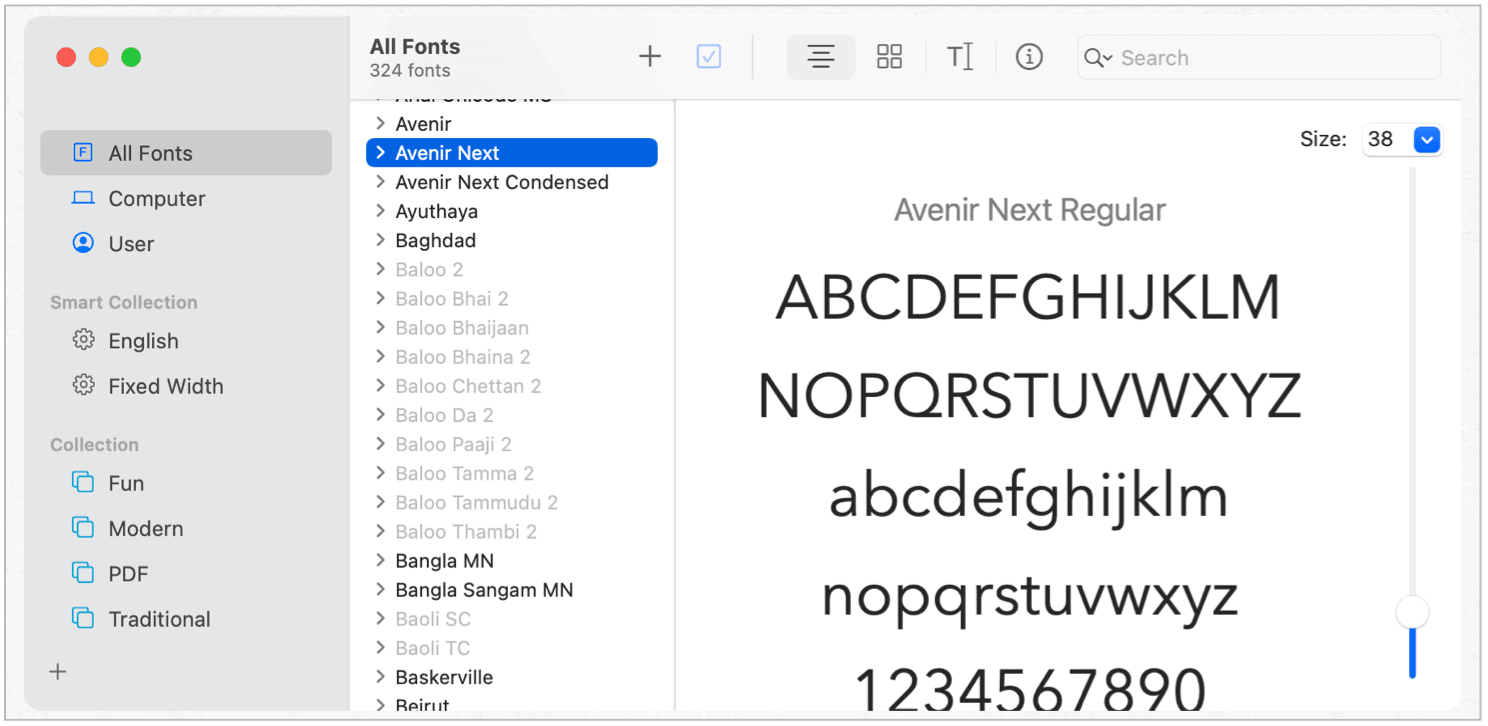
The Font Book on Mac is located under the Applications menu on your computer. The list includes system fonts that have already been downloaded and others that you may want to add. Fonts are arranged by Computer or User. Unless you’ve already manually added fonts, you’ll find all of your apps in the former category. Drilling down further, you see the fonts arranged by collections, including Fun, Modern, PDF, and Traditional. You can add new collections to the Font Book, then change where fonts reside. However, this does not affect how the font works across macOS and in apps. The ability to add new collections is for organization use only.
Install and Validate Fonts
To use fonts in your apps, you need to install and validate them using the Font Book. After the fonts get installed, the validation process occurs automatically. When there are problems, you’ll see a message stating what’s going on. Sometimes the issue is simply that you’ve installed the same app more than once, and Apple prompts you to remove one of these before validation.
There are thousands of fonts available online, both free and paid, and sometimes they don’t work properly on Mac. Again, the Font Book addresses and resolves these issues before validation. Otherwise, you can’t use the app. If you don’t have time to go through the problem fonts’ validation process, you can do it later.
Installation
To install new fonts on your Mac, do any of the following:
- Double-click on the Font Book in the Applications folder, then click the Add button, locate and select the font, then choose Open.
- Drag the font file to the Font Book app icon in the Dock.
- Double-click the font file in the Finder, then click Install Font in the dialog that appears.
To download and install system fonts:
- Double-click on the Font Book in the Applications folder and highlight one or more of the list’s dimmed fonts. Click Download to install and validate. Confirm Download in the pop-up box.

Validate Pesky Fonts
If a font on your Mac isn’t displayed correctly or a document won’t open due to a corrupt font, you can validate the font or delete it. For invalidated fonts only:
- In the Font Book, select the font. Choose File > Validate Font. Follow the directions on the screen, then click the Font Validation window. A green icon indicates the font passed, a yellow icon shows a warning, while a red icon indicates it failed. Select the checkbox next to a failed font, then click Remove Checked.
To find warnings or errors in a long list of fonts, click the pop-up menu at the top of the Font Validation window, then choose Warnings and Errors.
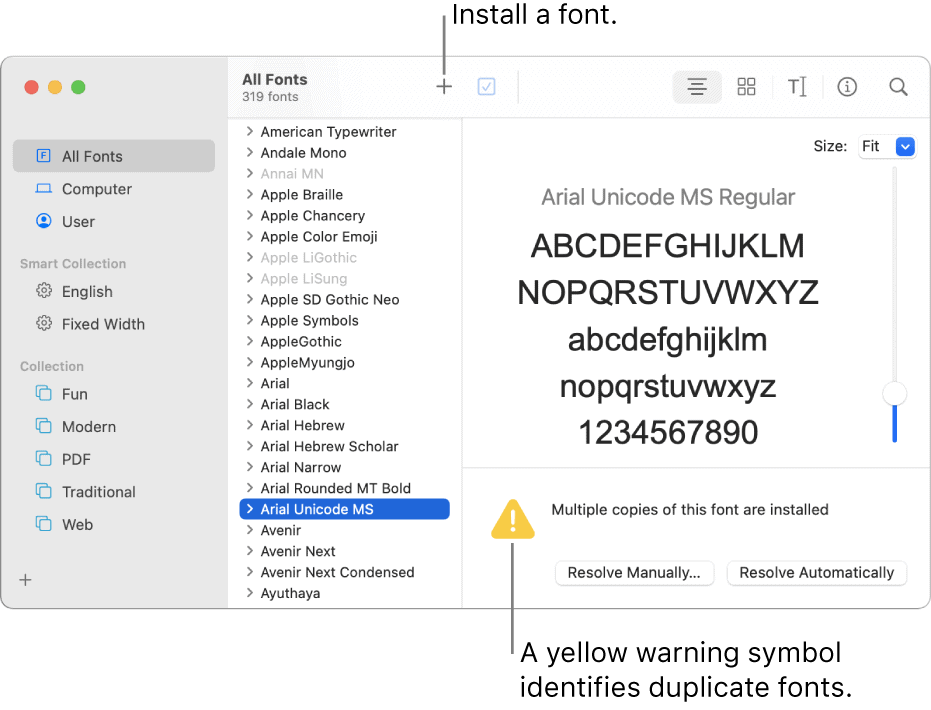
Resolve Duplicated Fonts
The Font Book offers a simple way to identify and remove duplicate fonts on Mac. To do this:
- In the Font Book, choose Edit > Look for Enabled Duplicates. To resolve duplicates, you can choose:
- Resolve Automatically: Font Book disables or moves duplicates to the Trash, as set in Font Book preferences.
- Resolve Manually: Continue to the next step to review and handle duplicates yourself.
Remove, Disable, and Enable Fonts
With installed fonts, you can remove, disable, and enable fonts at any time:
- Remove: Select one or more fonts in the Font Book. Press the Delete key, then click Remove.
- Disable: Select one or more fonts in the Font Book. Click the Disable button in the toolbar above the list of fonts, then click Disable to confirm. Disabled fonts aren’t deleted. Rather, they become dimmed and labeled Off in the list of fonts.
- Enable: Select one or more fonts in the Font Book. Click the Enable button in the toolbar above the list of fonts, then click to confirm.
Find Third-Party Fonts
You can find external fonts across the internet that are free or available for purchase. When choosing a font, make sure it’s supported on macOS. Among the sites to find new fonts are:
- Fonts.com: The site offers lots of high-quality fonts at a price.
- FontSpace: Great for finding free fonts.
- Font Squirrel: More freebies here.
Restore Default Fonts
You might want to restore the fonts that came with your Mac. You can do so by following one step:
- In Font Book, select File > Restore Standard Fonts. Restore Fonts that aren’t automatically installed.
Summary
Fonts come in different styles and provide a simple way to enhance creativity in your work. In macOS, the Font Book provides all the tools you need to download, install, and validate new fonts, which you can use across your computer’s apps.


